
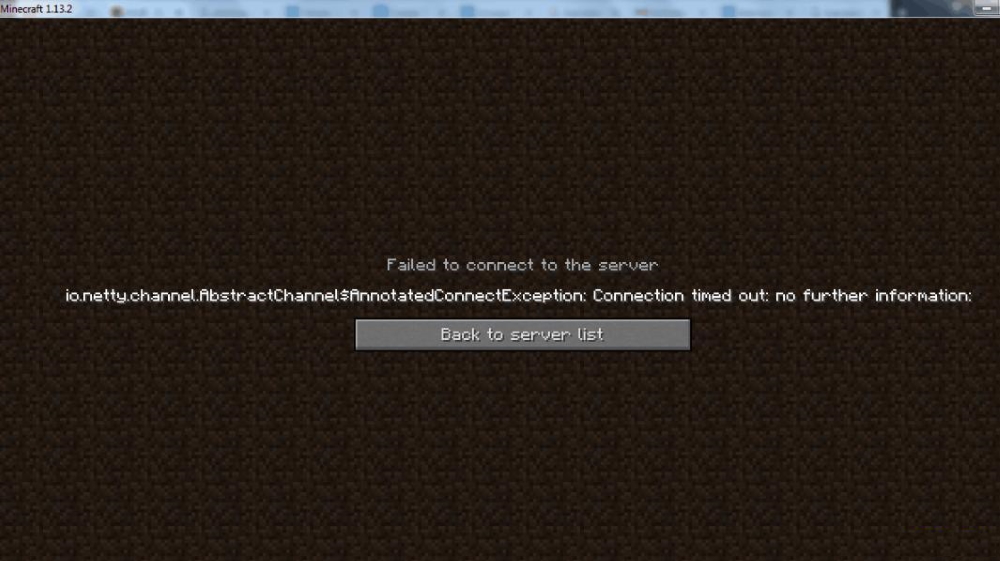
What is the io.netty.channel Minecraft error
Many users start feeling exasperated after failing to enter a Minecraft server. They encounter a message like io.netty.channel.abstractchannel$annotatedconnectexception that prevents them from playing with friends. The issue is pretty common and usually solved by restarting the game, PC, or rebooting a router. In case none of this helps, you should try a list of advanced solutions presented below. Follow the instructions carefully performing each method step-by-step.
1. Configure Firewall settings
If you are unable to join multiple servers due to the same problem, this could be related to the Firewall blocking access to them. Discussion on forums suggests that the Firewall does not allow a path to the 1.12.jar file (which stands for the Minecraft version) located in C:\Users\user\AppData\Roaming.minecraft\versions(version). Therefore, we will try to remove the restriction via the steps below:
- Type and open Windows Security in the searching tab next to the Start menu.
- Then select Firewall & Network protection.
- Scroll down a bit and choose Allow an app through firewall.
- Now, you will see a new window. In it, click on Change Settings. If there is a warning prompt featuring on your screen, choose Yes.
- Once done, choose the option Allow another App.
- In the opened window, select Browse and navigate to the place where Minecraft is installed (the path may look similar to what we mentioned above).
- In the Minecraft folder, you should select .exe and .js files, and click Open.
- You should also repeat these steps with the folder called Minecraft Server. Find it and select files from it as well as above.
- Finally, being on the initial Change settings page, move down the list until you find Java(TM ) Platform SE binary.
- Check both Private and Public boxes next to it, and click OK to finish the job.
Now, you are free to close the window and try to enter a server once again. It is also necessary to mention that third-party anti-malware software can conflict with Minecraft settings as well. Sometimes these programs can have Firewalls enabled. Thus, disabling or removing the app may help in solving the issue.
2. Try to reinstall Java
Minecraft is based and running on Java software. Sometimes it can be outdated or malfunctioned resulting in similar issues. This is why another solution would be deleting and installing the latest version of Java. To perform this, follow these steps:
- Right-click on Start menu and choose Apps & Features.
- Scroll down the list and find Java. Left-click on it and choose Uninstall.
- After the deletion is done, open the official Java website and download the latest version of Java.
- When you install it, try running the Minecraft server again.
3. Verify if you are using the correct IP and Port.
If you are trying to host your own server to friends, but the same issue occurs, this might be related to the wrong port of IP address. This is constantly seen when users’ IP is changing from time to time, misleading the settings. To fix the problem, we will find the correct port and insert it into the server address.
- Open Command Prompt by typing
cmdinto the searching box next to the Start menu button. - Right-click on Command Prompt and choose Run as administrator.
- Once the console is opened, type
ipconfigand press Enter. - From the list of displayed data, note your IPV4 Address.
- Then, the next step is to navigate to this path
Minecraft Servers\Maxwell(some random numbers)\MinecraftServer. In this folder, open a text document called Server Properties. - Find and note the Server Port shown there. It may be different for each user, but let’s imagine it is 25565.
- Now boot up Minecraft and select Play Multiplayer.
- Select the server you are willing to enter and click Edit.
- There will be a server address listed in the box. Check if the first 8 digits of the address match your IPV4 we noted above. And same with the last 5, which should be the same as in the text file.
- Finally, click done, refresh, and hop into the server.
We hope this method has solved the issue bothering you. If not, there is one more efficient way that could rectify the problem below.
4. Portforward Your Network
Likewise the previous step, this solution is for people having troubles with their own servers. We will have to guide your network through the same address your server is based on. This method is similar to the above but it will make sure you are not obliged to check your IP and Port all the time. It will allow your friends outside of your local network to join the server hosted by you. To perform this solution, you will have to open the router page. Because there are different firms manufacturing routers, the steps to running the necessary steps may vary a bit. Despite this, we will show some general steps that can be adjusted to your interface.
- First of all, type in the address of your router into the searching space of a browser (you can find it on a sticker under your router). The Username and Password required to log in can also be found there.
- When the configuration page appears, open the Port Forwarding section (also called Virtual Server). Sometimes it may also be located in the Advanced settings.
- If everything is done right, you should now be in the section to enter a Port, Local IP address, and the Protocol option.
- Fill in these spaces with the Port and IPV4 we found in previous solutions. Sometimes there both External and Internal Port, so they need to be filled with the same port as well. For the Protocol option, choose TCP/UDP.
- Lastly, click Apply, Add new, or Save to finish.
- Now you can google what is your IP address and send it to friends.
Summary
Getting rid of the io.netty.channel error may look overcomplicated. Indeed, some methods require a bit of your time to perform the steps in the right way. Despite this, we hope you kept the patience and managed to get over the bottleneck you were facing before.