
Apple users have plenty of reasons to install Windows on their Mac. Perhaps there is a piece of software that they absolutely need, but it’s been last updated in 1997, works only on Windows, and the person who wrote it has never even heard of a Mac (though they might’ve heard of a Macintosh). Perhaps they want to play a game that has never been ported to Mac due to the lack of demand. You get the idea – most of these reasons involve software in one way or another, which is hardly surprising. As the most popular operating system, Windows receives a lion’s share of all programs and games being made.
Now, we’ve already written an article about installing Windows on Mac. However, it could hardly claim to be comprehensive. For one, VirtualBox received only a passing mention. That is because VirtualBox is much more complex and difficult to use compared to, say, Parallels Desktop. Explaining how to use it would’ve required its own guide – and so, here we are. This guide will help you install Windows on Mac with VirtualBox by breaking down the process into easy-to-understand steps.
What is VirtualBox?
If you’re reading this guide, you probably already know the answer to that. On the off chance that you don’t – VirtualBox is a program that allows you, in simple terms, install Windows on Mac. Unlike Apple’s own solution, BootCamp, you will not have to reboot every time you want to switch between using macOS and Windows. There are several disadvantages as well.
If you install Windows on Mac with VirtualBox, your computer will be running two operating systems at the same time. As this is very demanding, you will need a powerful, high-end Mac if you want to do this without experiencing massive amounts of lag.
Another disadvantage is that, as we already mentioned, VirtualBox is difficult to use. Written with IT professionals in mind, VirtualBox has many different options for its advanced users, but this comes at a cost of not being streamlined at all.
Additionally, it is important to not that it is not possible to use VirtualBox on M1 (M2, M3) Macs.
If this sounds intimidating and you’d prefer an easier alternative, Parallels Desktop is a great solution. Not only it is easier to use than VirtualBox, it is also available for Macs with M1 chips. Below you can see all the steps you will need to take to install Windows on Mac with Parallels Desktop – quite a difference when compared to the guide below.


However, there is a very real reason to prefer VirtualBox. Unlike Parallels Desktop, which is a paid application, VirtualBox is entirely free. So if you want to install Windows on Mac with a budget of $0 – VirtualBox is your choice.
Install Windows on Mac with VirtualBox: Part 1, The installation
While installing VirtualBox is a fairly straightforward affair on Windows, macOS’s security features might complicate the process somewhat.
First, let’s head to the download page to grab a copy of VirtualBox. Make sure to download the right file – as a Mac user, you’ll want to click on the “OS X hosts” link.
Wait for the download to finish and open the file.

You will see a new window that looks like the image above. For now, you should do what it tells you and double-click VirtualBox.pkg.
An installation window will open – click Continue, Continue, and then Install. You do not need to change any installation options. After clicking Install, you will be prompted to enter your password – do so and click Install Software.
The installation will now begin – but here’s the tricky part. After the installation, you might see a window saying “System Extension Blocked”. This is commonly referred to as the “virtualbox mac installation failed” error.
If you did not see the “System Extension Blocked” window, it is possible that your Mac allowed the installation to complete correctly. However, let’s go through the next step anyway, just to be sure.
Click OK and close the installation window. Select Keep when prompted to move the installer to the Trash.
Now, go to Apple Logo > System Preferences > Security & Privacy. Check if you see a line saying
System software from developer "Oracle America, Inc." was blocked from loading.
If you do not see this line, skip to the next part. Otherwise, proceed with the instructions below.
In the Security & Privacy window, there should be a lock in the bottom-left corner. Click on it and enter your password when prompted. After doing this, check the “Allow apps downloaded from” setting. Select the “App Store and identified developers” option if isn’t selected already.

Now, click Allow as shown on the image above.
Close Security & Privacy window and get back to the VirtualBox window. Double-click the VirtualBox.pkg icon again and go through the installation again. It should install properly this time. Close the installation window after it’s done – this time, you can move the installer to trash if you’d like.
Install Windows on Mac with VirtualBox: Part 2, Configuring VirtualBox
Now that you’ve installed VirtualBox, you should be able to find it in your Applications folder, as well as the Launchpad.
Let’s launch VirtualBox.

Its window should look like this. Click New (the blue star-looking shape). Type the version of Windows you’re planning to run in the Name field. This way, Type and Version settings will be set automatically – but, just in case, make sure that those are set correctly. Click Next. On the next screen, you will be prompted to choose how much of your Mac’s RAM will be given to Windows. The program will tell you the recommended amount – but you should probably go higher. You see, the “recommended amount” is actually the minimum amount required for this version of Windows to run. As you’re most likely trying to install Windows so that you can run Windows programs or games, you’ll need to give more RAM than recommended However, you cannot go too high either. If you give Windows too much RAM, your macOS will not have enough to run properly, so make sure that the RAM slider is not in the red area. Once you’ve decided on the amount of RAM to give Windows, click Next.
The next screen is the hard disk screen. Make sure that the option Create a virtual hard disk now is selected and click Create. On the next screen, simply click Next. Now, you have to choose between a “dynamically allocated” or a “fixed” virtual hard disk (the storage space that Windows will be able to use). The program will explain the difference to you, so read what it says and choose, then press Next. Now you need to select how much of your storage Windows could use. Again, the recommended amount is the minimum amount, and you should probably go higher. Be careful though – the program will let you give Windows more storage space than what you have available – you don’t want to do that. Press Create once you’ve decided.
This was the last step in creating the virtual Windows machine. However, you’re still not done configuring it. There are still some settings to adjust, but, more importantly, you need to download a Windows ISO installation file. You can download Windows 10 ISO here, for example.
Now, go back to VirtualBox and click Settings (the orange gear icon).

Click Storage, then click the “add optical drive” button. It is unlabeled, so use the image above for reference. Click Add, then select your Windows ISO and press Open. Click on the ISO in the menu and click Choose and then OK.
Then, finally, press Start (green arrow pointing to the right). You may be prompted to select your start-up disk – select your Windows ISO and press Start if that happens.
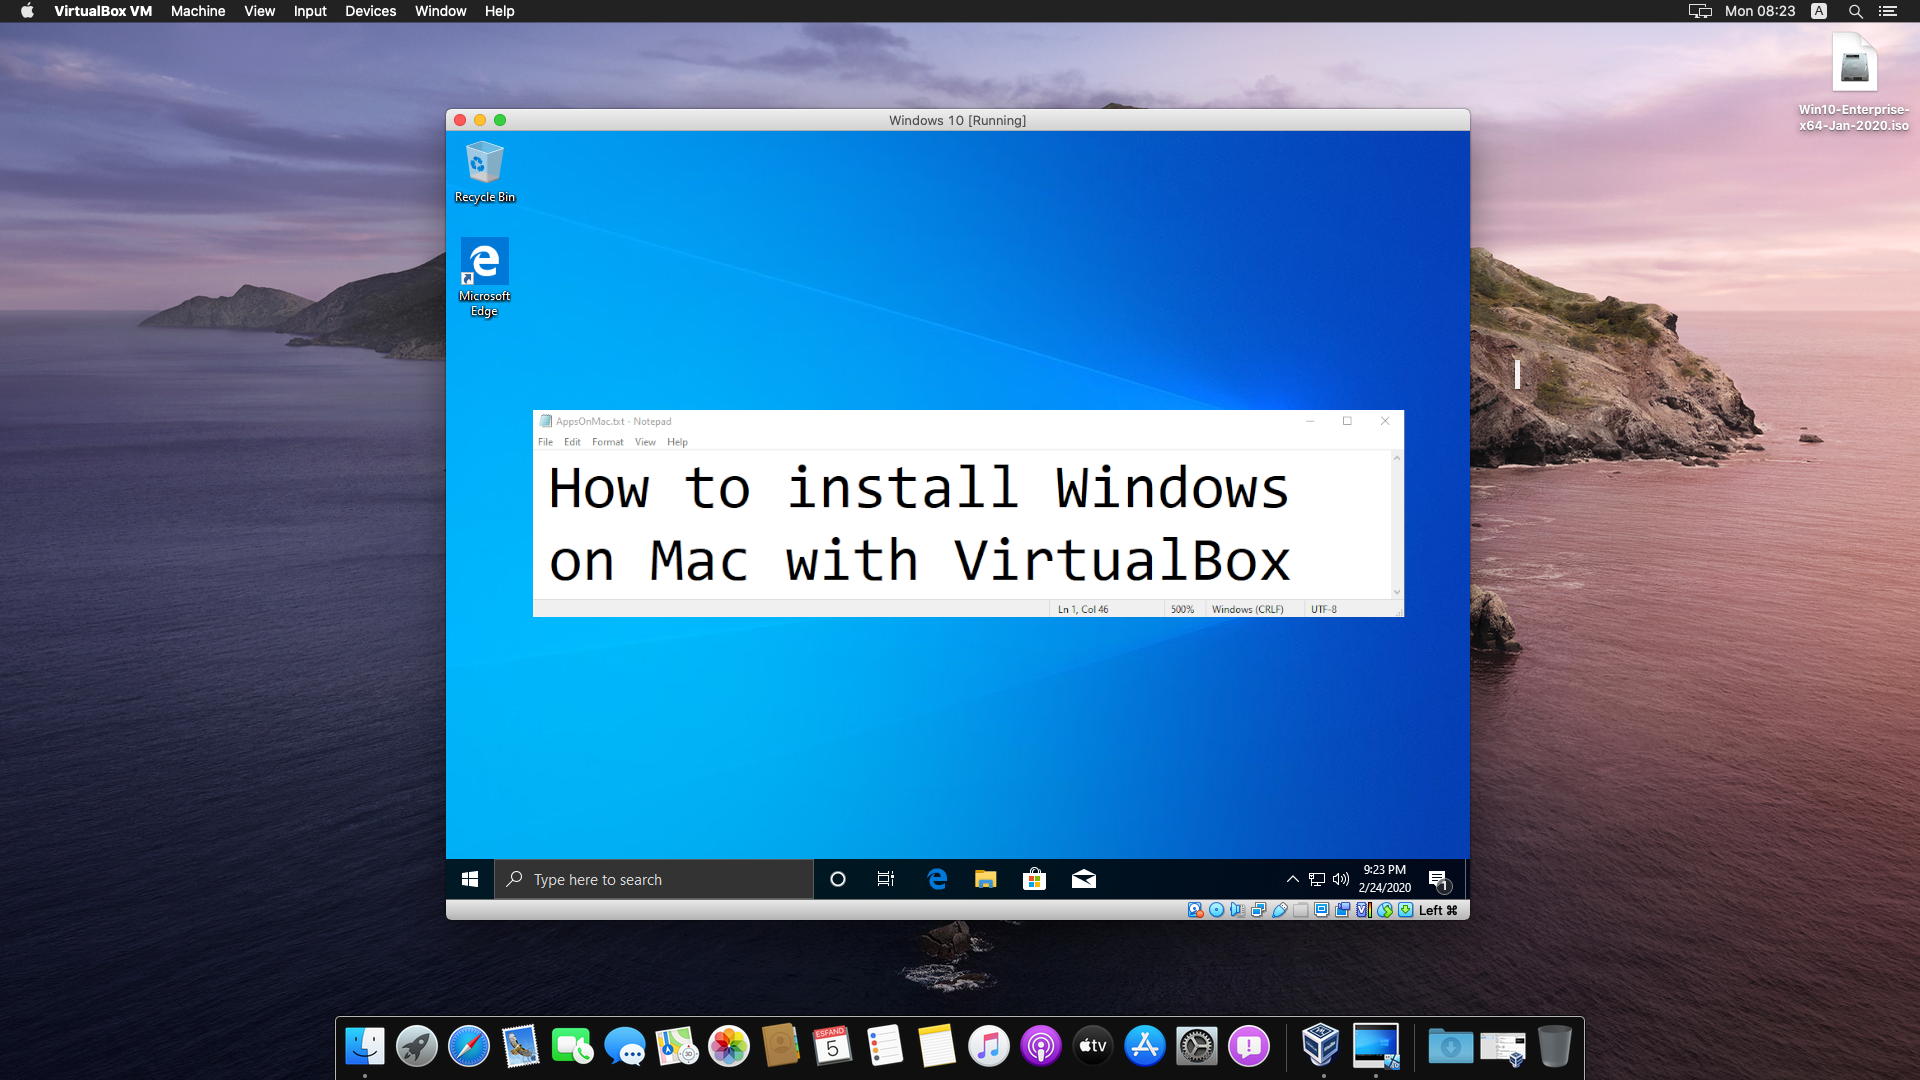
At this point, you’re finally running Windows – Windows installer, that is. Proceed with the installation as normal (use any internet guide for reference if you have no experience installing Windows at all).
Once you’re done with the installation, you can get to using Windows as you normally would.
If you want to stop using Windows, simply turn it off like you would on an actual Windows computer.
Install Windows on Mac with VirtualBox: Part 3, Optional steps
The last part of this guide will cover optional steps and can be skipped. However, it is recommended that you follow them anyway, as the settings explained here are very useful. In particular, this will allow you to share files between Windows and macOS more easily, as well as make your virtual Windows (somewhat) capable of running (old) games.
First, turn off your virtual Windows if it is on.

Click on the amount of Video Memory in the Display category as shown on the image above. A slider will show up, allowing you to adjust the setting. Turn it to the maximum – which is 256 MB.
Note that this doesn’t mean that your virtual Windows will only have 256 MB of VRAM – thanks to hardware acceleration it will be able to use all VRAM your GPU has.
Now, open Settings > Display and check the Enable 3D acceleration checkbox. Then, in the same menu, set your Graphics Controller option to VboxSVGA. Press OK, then turn on your virtual Windows by pressing Start.
In the virtual Windows window, click Devices > Insert Guest Additions CD image. Your Windows will open an installer.

In the installer, click Next and Next again. Make sure that all checkboxes are checked and click Install. Once it is done, the installer will prompt you to reboot. Select Reboot now and click Finish.
Once your guest Windows has rebooted, you will be able to use several new, useful features. However, you will need to enable them first. In the virtual Windows window, select Devices > Shared clipboard and choose Bidirectional. Then select Devices > Drag and Drop and also choose Bidirectional.
Now you’re able to:
- run Windows games that support DirectX 9 or older (modern games are out of question, sorry)
- use other demanding applications that need 3D acceleration
- drag and drop files from Windows to macOS and vice versa
- copy and paste between Windows and Mac applications
This concludes our guide. Thanks for reading!