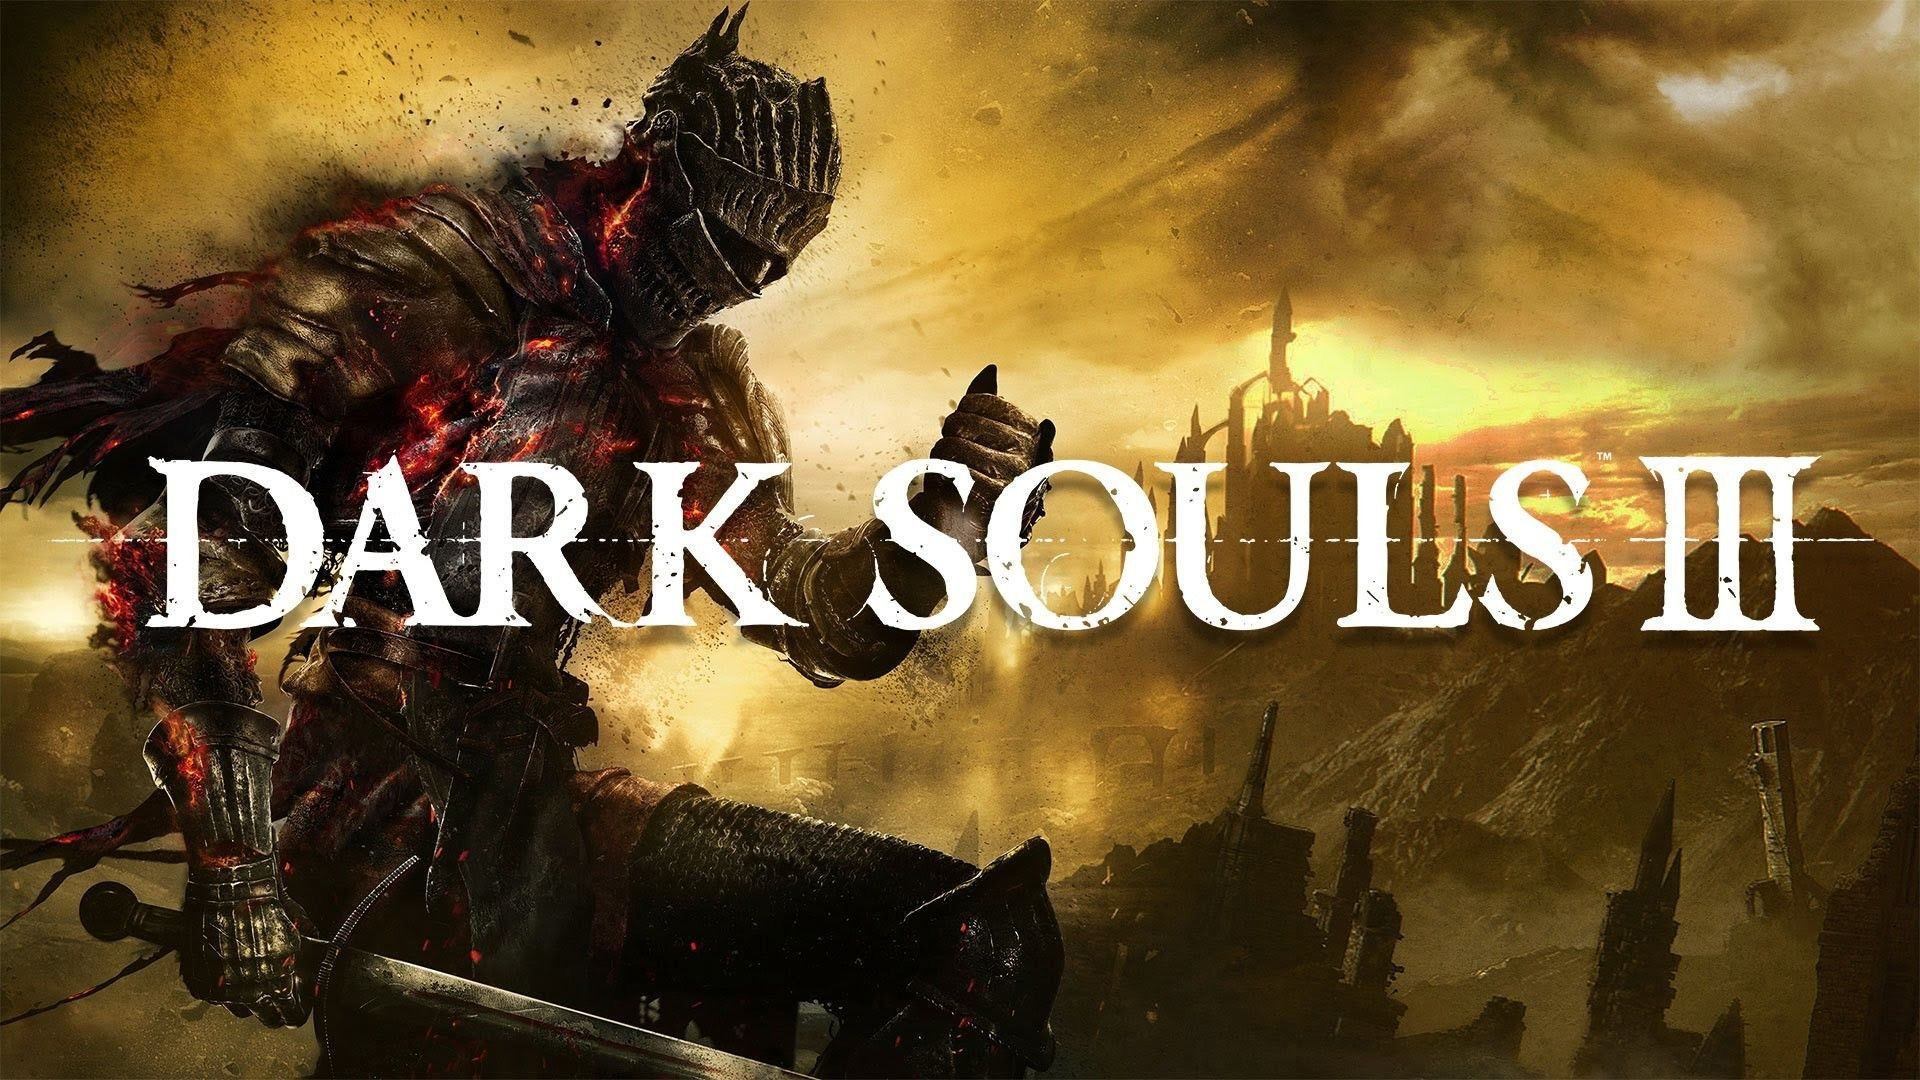
6 years long, Dark Souls III remains one of the most widely-loved Action/RPG video games around the world. Developed by FromSoftware, Inc., the third installment of the entire series once again puts players into a traditionally gloomy atmosphere with ever-growing challenges ahead. The world full of darkness will bring you face to face with a number of old and new mysterious creatures to fight against. Explore each dime of the map and collect resources to improve your character while advancing through the entire plot. Complete various missions and unravel mysteries with many monsters surrounding you – from regular creatures to top-tier bosses demanding special preparation of you. Many people have already immersed themselves into thrillingly dynamic combats and indirect storytelling of Dark Souls III. Some even want to replay it and feel the same authentic experience again. With that being a challenge for macOS users, we are going to teach you how Dark Souls III can be played on Mac systems as well – without limitations of graphics and content.
Play Dark Souls III on Mac with Parallels

Dark Souls III requires lots of PC resources, but if you have a powerful Mac computer (iMac, iMac Pro, or Mac Pro) Parallels Desktop can be a solution. This is an application that allows for Windows virtualization on Mac with the full support of DirectX and GPUs. In simpler terms, what this means is that it allows you to install Windows 10 on Mac with just a couple of clicks and switch between MacOS and Windows instantly. So you will be able to run Windows, install Steam, and enjoy the Dark Souls III game on Mac just like on a regular PC.
Note: Recommended devices to run resource-demanding games: MacBook Pro (models with an Intel processor, discrete graphics cards, and 16 GB of RAM or more), iMac (models with Intel processor, discrete graphics cards, and 16 GB of RAM or more), iMac Pro (all models are suitable), Mac Pro (all models are suitable). Parallels on Mac computers with M1 (M1 Pro, M1 Max) chips may not support recent games. Games that require DirectX 12 and later are currently not supported by Parallels. AppsOnMac recommends using Parallels’ free trial feature to determine whether you can run the game or not if you’re uncertain.
Play Dark Souls III on Mac with cloud gaming services

If you have an old Mac or it cannot satisfy the Dark Souls III game system requirements, there is an easy solution. Cloud gaming services will be happy to provide you with sufficient computing power – though not for free, of course. All you need is a browser or a small client program and a good internet connection starting from 15 MBit/s. There are several great platforms that provide these services, among the best are Boosteroid, Xbox Cloud Gaming, and Nvidia GeForce Now. As shown on the image above, Boosteroid has Dark Souls III in its game library.
Play Dark Souls III on Mac with BootCamp
Note: Mac computers with new Apple Silicon (M1, M2, M3 Pro, or M1, M2, M3 Max) currently do not support BootCamp. In this case, please, use the options above to run Dark Souls III on Mac
This method is simple but time-consuming. If your Mac meets all the system requirements above, you can play Dark Souls III on Mac by installing Windows. You need to set up a dual boot of Windows and Mac via BootCamp. This is an application that allows users to choose the system to work in on startup, however, you won’t be able to switch between systems like in Parallels. You will need to reboot your machine every time you want to switch from Mac to Windows and vice versa. Remember that Mac is just a computer, in the end. And while newer Macs have their own special Apple Silicon chips that cannot run Windows, older Macs are very much similar to computers that run Windows, they have Intel processors, compatible RAM, disks, and other components. So you can install Windows on an older Mac by allocating no less than 64 GB of disk space (to be able to run Windows and a couple of games) and following these steps:
For OS X El Capitan 10.11 and older
For MacOS versions prior to OS X El Capitan 10.11 you will need to create a bootable Windows USB.
- Download this Windows ISO file.
- Open Boot Camp Assistant (Go to Applications > Utilities).
- Define the Windows partition size and choose the Windows ISO file you’ve downloaded.
- Format the Windows partition and go through all Windows installation steps.
- When Windows boots for the first time follow on-screen instructions to install Boot Camp and Windows support software (drivers)


