
Developed by Arc System Works, GUILTY GEAR -STRIVE- is a pure fighting videogame inspired by the Anime world. Featuring a reconstructed 2D/3D game design with 15 new characters joining the likes of prior fighters, the game will be the right choice for Mortal Kombat and anime lovers. Enjoy a variety of fighting modes to experience diverse emotions during the game. Choose to endure yourself fighting against AI in the survival mode, or with other players to prove you are the king. Be ready to learn a barrage of diverse abilities that will help you acquire an advantage over the enemies. Defeat bosses and high-caliber players on the online arena saturated with breath-taking fights. GUILTY GEAR -STRIVE- is an exciting game that has nothing to do with boredom and negative mood. Being available across Windows and Playstation, players can already jump into the action since 11 June. Unfortunately, Mac users have once again been left behind with no possibility to play the game. However, this would be so unless we knew the way to get around this problem. Below, you will learn how to launch GUILTY GEAR -STRIVE- or any other game on macOS.
Play GUILTY GEAR -STRIVE- on Mac with Parallels

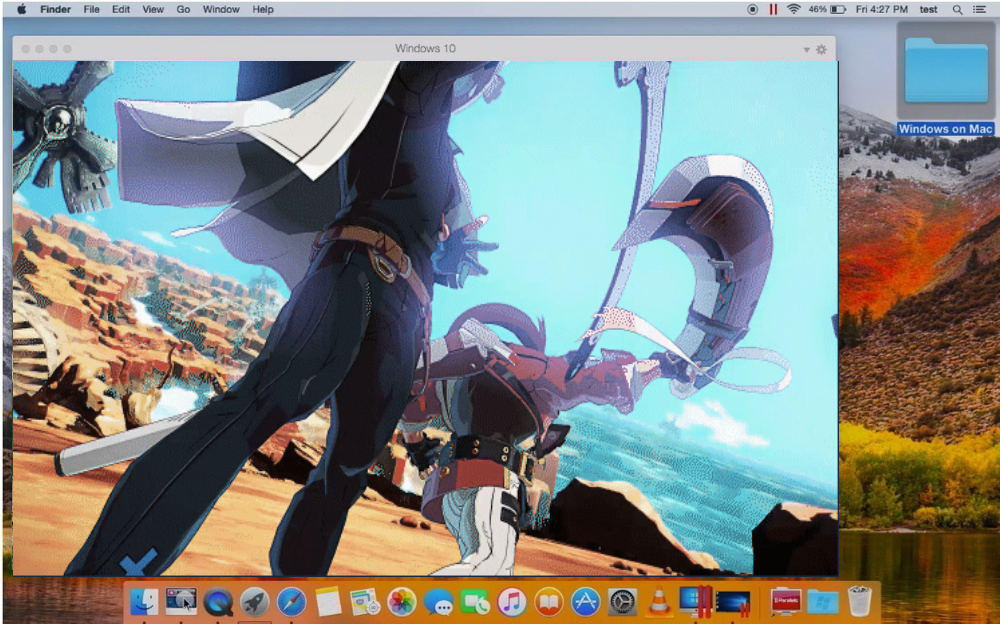
GUILTY GEAR -STRIVE- requires lots of PC resources, but if you have a powerful Mac computer (iMac, iMac Pro, or Mac Pro) Parallels Desktop can be a solution. This is software for Windows virtualization on Mac with the full support of DirectX and GPUs. It allows you to install Windows 10 on Mac with a couple of clicks and switch between MacOS and Windows instantly. You can run Windows just like on a regular PC, install Steam and enjoy the GUILTY GEAR -STRIVE- game on Mac.


Play GUILTY GEAR -STRIVE- with cloud gaming services
Update: Nvidia GeForce Now supports GUILTY GEAR -STRIVE-! Now you can enjoy the game on an old Windows PC, Mac, Nvidia Shield, even on Chromebook and Android!
If you have an old Mac or it cannot satisfy GUILTY GEAR -STRIVE- game system requirements, there is an easy solution. Cloud gaming provides you sufficient cloud resources for a fixed fee. All you need is a small client program and a good internet connection starting from 15 Mbits/s. There are several great services, that provide such an opportunity, among the best are AirGPU and Nvidia GeForce Now. Both services may have GUILTY GEAR -STRIVE- in their game catalog soon, and you can play on any Mac computer (starting from MacOS 10.10) and even Android!
Play GUILTY GEAR -STRIVE- on Mac with BootCamp
This method is simple but time-consuming. If your Mac meets all system requirements above, this is probably the best way to play GUILTY GEAR -STRIVE- for now. You need to set up a dual boot of Windows and Mac via BootCamp. BootCamp allows users to choose the system to work in on startup, however, you won’t be able to switch between systems like in Parallels. You will need to reboot your machine every time you switch from Mac to Windows and vice versa. Remember that Mac is just a computer, that uses common processors, RAM, disks, and other components. So you can install Windows on Mac by allocating disc space of a minimum of 64 Gb (to be able to run Windows and a couple of games). To set up Windows via BootCamp, please, do the following:
For OS X El Capitan 10.11 or later
Mention, that for MacOS versions prior to OS X El Capitan 10.11 you will need to create bootable Windows USB.
- Download Windows ISO file
- Open Boot Camp Assistant (Go to Applications > Utilities)
- Define the Windows partition size, choose downloaded Windows ISO file
- Format Windows partition and go through all Windows installation steps
- When Windows boots for the first time, follow on-screen instructions to install Boot Camp and Windows support software (drivers)