
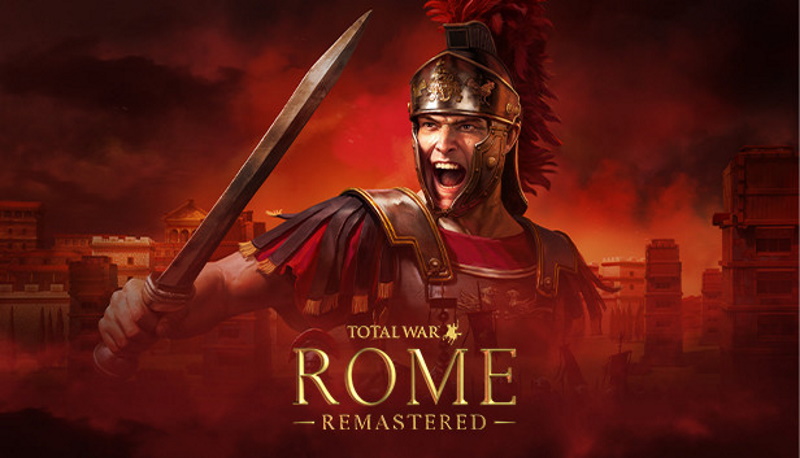
Total War: Rome Remastered is a remastering of a popular strategy game, Rome: Total War (or RTW), that was firstly released in 2004. The game can be applied as a strategy, that composed of both turn-based strategy and real-time tactics. Developed by The Creative Assembly, Total War was the third game of the series Total War. The new release got many graphics updates: shaders, new models, visual effects, and much better resolution. Like in the original game, you can choose the three great Roman houses: the Julii, the Brutii, or the Scipii. Each of these factions has different properties, but of course equal main purpose: to conquest nearby territories in several historical conflicts. Despite the game is officially supported on Macs, you can run it only on relatively new models of Mac/MacBook.
Please check the list of compatibility below:
- All 15” MacBook Pros released since Late 2016
- All 13” MacBook Pros released since 2016
- All MacBook Airs (M1) released since 2020
- All Mac minis (M1) released since 2020
- All 21.5” iMacs released since 2017
- All 27” iMacs released since Late 2014
- All 27″ iMac Pros released since Late 2017
- All Mac Pros released since Late 2013
If you are using another model, don’t be upset: there are several ways to run the game anyway. If you want to know how to play Total War: Rome Remastered on your Mac, please read our article below.
Play Total War: Rome Remastered on Mac with Parallels

Total War: Rome Remastered game requires relatively high PC resources, but if you have a powerful Mac computer (iMac, iMac Pro, or Mac Pro) Parallels Desktop can be a solution. This is software for Windows virtualization on Mac with the full support of DirectX and GPUs. It allows you to install Windows 10 on Mac with a couple of clicks and switch between MacOS and Windows instantly. You can run Windows just like on a regular PC, install Steam and enjoy the Total War: Rome Remastered game on Mac.


Play Total War: Rome Remastered with cloud gaming services
If you have an old Mac, or it cannot satisfy Total War: Rome Remastered game system requirements, there is an easy solution. Cloud gaming provides you sufficient cloud resources for a fixed fee. All you need is a small client program and a good internet connection starting from 15 MBits/s. There are several great services, that provide such an opportunity, among the best are AirGPU and Nvidia GeForce Now. Both services may have Total War: Rome Remastered in their game catalog soon, and you can play on any Mac computer (starting from MacOS 10.10) and even Android!
Play Total War: Rome Remastered on Mac with BootCamp
This method is simple but time-consuming. If your Mac meets all system requirements above, this is probably the best way to play Total War: Rome Remastered for now. You need to set up a dual boot of Windows and Mac via BootCamp. BootCamp allows users to choose the system to work in on startup, however, you won’t be able to switch between systems like in Parallels. You will need to reboot your machine every time you switch from Mac to Windows and vice versa. Remember that Mac is just a computer, that uses common processors, RAM, disks, and other components. So you can install Windows on Mac by allocating disc space of a minimum of 64 GB (to be able to run Windows and a couple of games). To set up Windows via BootCamp, please, do the following:
For OS X El Capitan 10.11 or later
Mention, that for MacOS versions prior to OS X El Capitan 10.11 you will need to create bootable Windows USB.
- Download Windows ISO file
- Open Boot Camp Assistant (Go to Applications > Utilities)
- Define the Windows partition size, choose downloaded Windows ISO file
- Format Windows partition and go through all Windows installation steps
- When Windows boots for the first time, follow on-screen instructions to install Boot Camp and Windows support software (drivers)